Thursday 25 October 2012

Environment Concept Art

For this project I have started by selecting a piece of art work by the artist Shane Pierce, I will study this work and then create a piece of art work in a similar stile and genre.

Here is a bio of Shane Pierce from his website www.shanepierce.com:
"Born in 1973 in St. Louis Missouri, Shane Pierce is a self-taught artist who's current oil painting work focuses on the figurative self created Nomads series. Shane has been a professional full-time artist for over 18 years creating work for Galleries, Art collectors, Video Games, Comic books, Art books, and various companies. Shane lives and works in Cary, North Carolina with his wife Michelle, two sons, two dogs and three Koi fish"
  

The work I have chosen is called 'Tubbege'
Copyright Epic Games

This is form a series of works he did for Epic Games


I like the film Noir/futuristic feel to this art work. It reminded me of Blade Runner
(Imege from Blade Runner)
large looming city scape but with a modern twist of the tubes, that give an impression of sum kind of huge 
city-wide industry.
I'm going to add a Film Noir twist to my concept by having a detective type character, taking my isperation from M and Sin City


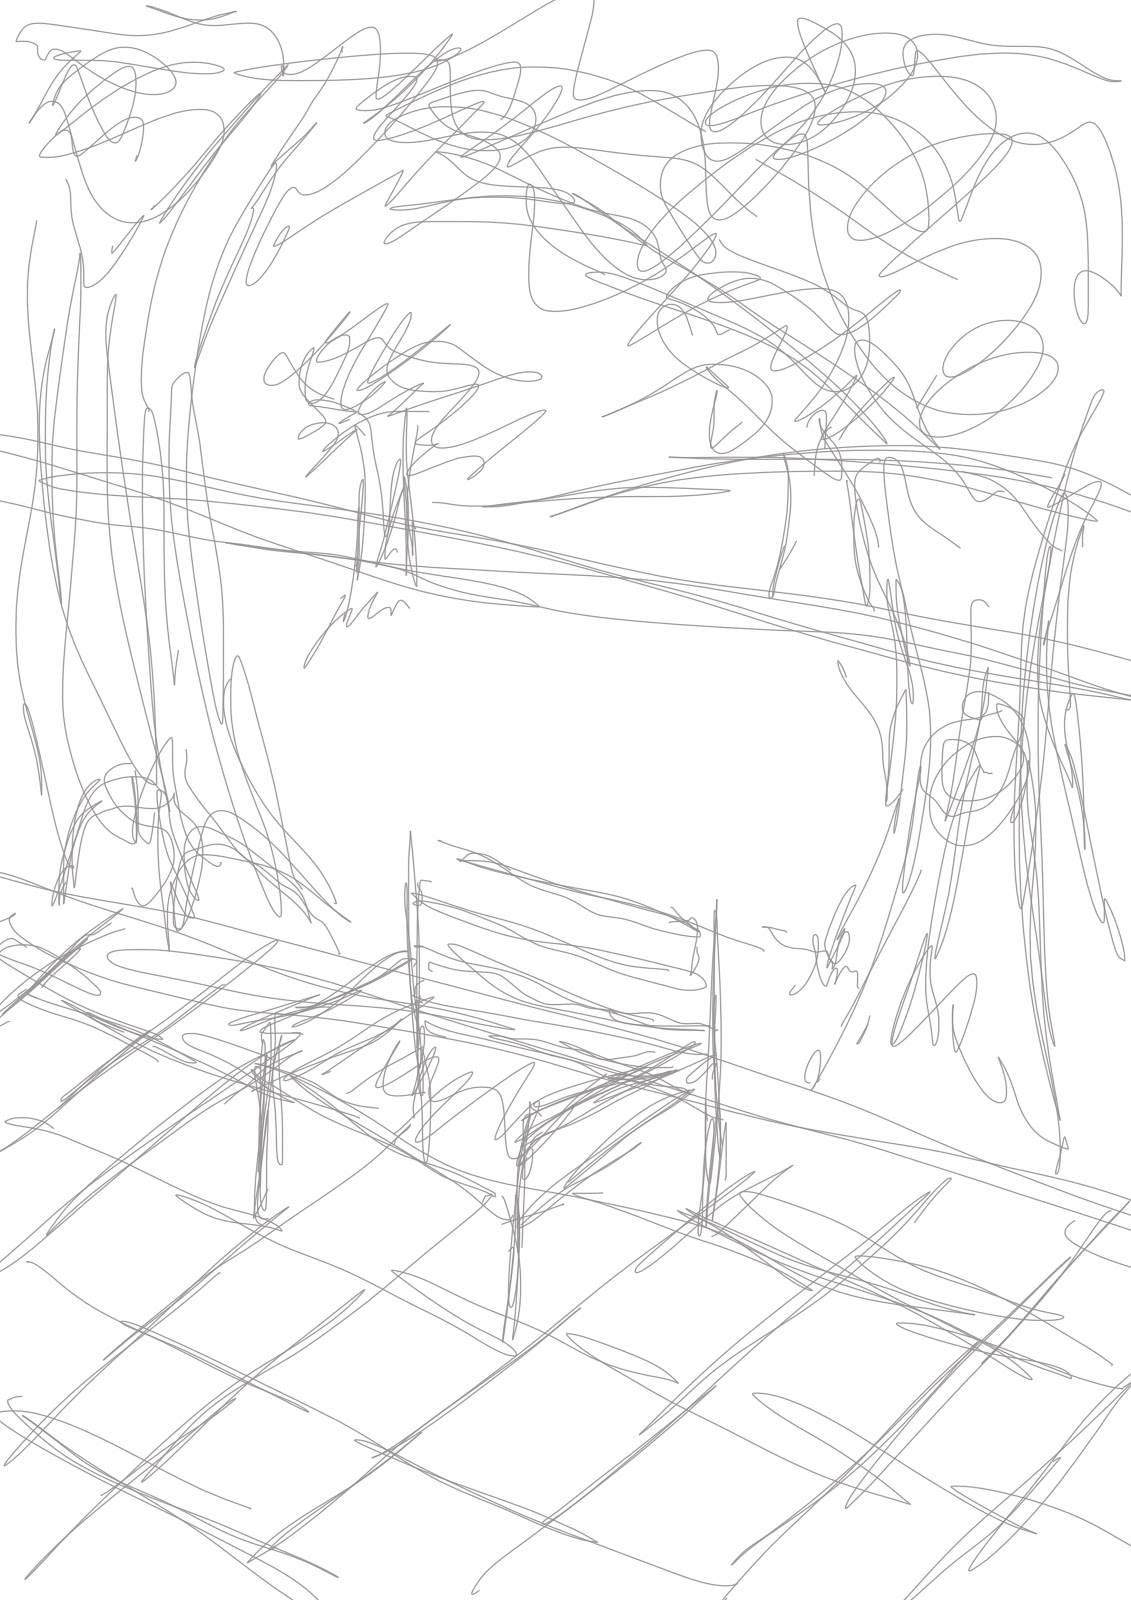
It was time to star working on my idea. First off some match-box sketches


I wanted to include an ally way to give my work some more depth plus include some possible characters.


this is the A4 sketch I came up with, I was happy with this so decided to take it into Photoshop to see if I could take it any further. Using an Inkling, a pen and memory clip that you attach to your paper sketch over and is saved on the clip to be transferred on to a digital medium.
This is the image I could take into Photoshop. This was my first real time using Photoshop so my skill was limited to some basic painting, this was a good first start but I could not advance this into a final peace.


 I decided to do my final peace in a physical medium.
Working big has always been a lot easier for me so I moved on to A1 paper and working in pencil, this might seem a bit of a step down from Photoshop but meany of the top concept artist state in interviews that they can work to a high standard in a physical medium and the digital artwork comes later. So on this basis and because Photoshop was out of my reach, moving to pencil and paper seemed like the only logical step.


Monday 15 October 2012

Photoshop Work


This is my first lesson using Photoshop.


IMAGE 1# We started with a ruff sketch of a park landscape using the default brush, drawing this out by eye, freehand. As you can see its all very ruff with no add ons. The aim was to draw from a perspective point free hand. This image is using 2 perspective point, one from the left and one on the right.


IMAGE 2# Using the ruler to put in a horizon line, I then switched to the pen and selected where my  perspective point on the right hand side was going to be on the horizon line, then I put in another point at the bottom and lined it by eye to my sketch. From there I selected the bottom of the line and coped it so I could create more lines without moving my perspective point.
I coped this proses on the left hand side, and then coloured the right hand lines red and the left hand ones blue, making shore I lined them up as much as possible with my original sketch.


-->
IMAGE 3 In this step I moved back to the paintbrush, zoomed in and started painting, using the lines as guidance. As can be seen the picture instantly gains a lot more depth through the 2 perspective points. This proses is extremely useful and I will be experimenting with differently placed prospective points, also the number of point used to create different angles and feels.


This is a free hand Photoshop painting of an old blowtorch

I have no real experiences of using Photoshop, so my painting is very basic. I hope to move this on and will be working at home and taking extra classes to advance my skills in this area.


BASIC COLOR FILLING

This is how I learned to fill in mat color on top of an object to get a basic underlay in Photoshop.
I started be going to a website called  Pimp My Gun. http://pimpmygun.doctornoob.com/app.php
On this web site you can create guns from a variety of parts, its surprisingly addictive and fun.

Here is one gun I created 


After choosing one of the guns I had made I saved the image then opened it in Photoshop.
Using the quick selection tool to grab part of the image I then filled it with gray as can be seen here.


 This is an extremely useful to create a base to then take on and work forward in Photoshop. The next step for me would be to add some darker tones then moving on to some light detail.
I will use this technique in the future fore other projects.


Wednesday 3 October 2012

Basics and Exercises

This was the first Lesson in Drawing for Games, and we spent it learning worm up drawing techniques.
I enjoyed this as I had already come across them and I knew haw useful they are, on here I will post some of these pictures and small blurb for each one describing how I felt doing it.

This is my free hand of Martin Clunes, in pencil coped from a print out.
Doing portraits is not a strong shoot of mine so I found this quite challenging but was happy with the result.


This is a free hand of my hand in pencil,
I chose to do the 'metal horns' as I love metal


This is a pencil sketch of a corner of the class-room.


This is an exercise I've dun meany times before it involves drawing from a picture witch is upside-down.
This one is of a Picasso drawing, I also find that it helps to hide as much of the picture as possible, this helps your mind to see it as shapes and not flip it round in your mind.


We also did a couple of other exorcises, drowning your hand but not looking at the paper

 and doing a free hand sketch of what was in my pockets

Practicing different mark-making from other artists

and the vase exorcise, where you draw one side and then try and copy it on the other


All of these exorcise techniques are used to stimulate the creative side of your mind and help in the drawing process. I will be using these to warm up in the rest of the lessons and at home.

Moving on to shading and light. Shading and light are paramount to drawing to convey every thing from depth to shadow, here are some exorcises I worked through.

I started out doing a shading grade line from light to dark, and a small example of different light sources on different shaped objects. 

The next stage was to choose a basic shaped object and draw it free hand using shading and light sources

Finally I worked on freehand drawing a bunch of flowers using all the things learned in the other exorcises.

To recap on all this, as I have already used a lot of these exorcises before but going over them again and learning some new ones has been very helpful.
I sometimes fined it hard to use them when starting a peace of work and forget how useful they are to get your mind in a creative frame. Going over shading and light is always a good thing, they are corner stones of  drawing and understanding how to create quality work. Without these basics it would be impossible to move  on as an artist.